
Hard to believe I was starting to put together my kitchen mood board about a year ago, and now here we are. I am not much like the DIY bloggers that I still follow closely… documentation is not the name of my game. Work has been extremely busy, which is awesome especially since the money for the kitchen reno had to come from somewhere.
Wait, how about a couple of before photos??
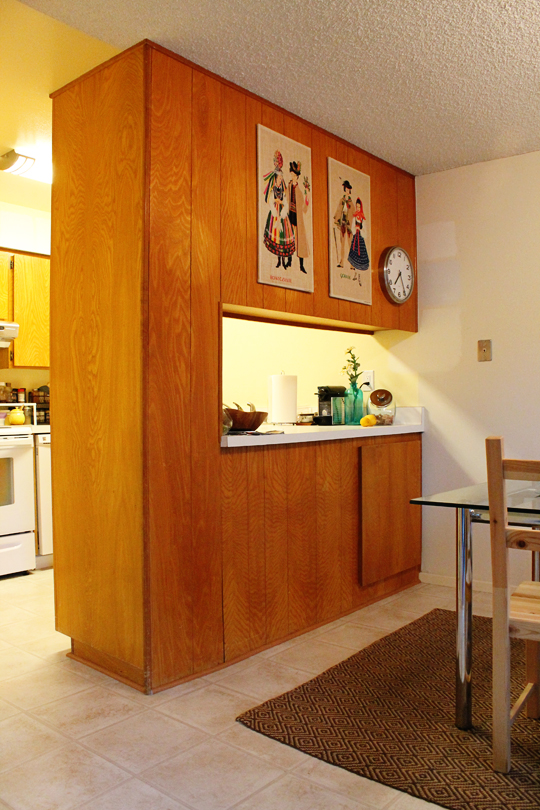

Last time, I wrote about my renovation priorities, and now on the other side of the process, I am pleased to say that I upheld most of them. Honestly I think that writing them down helped me prioritize them, even thought I did not refer back to them during the whole renovation, having thought it through at the beginning helped me align my vision and follow it.

When we began the product sourcing journey, I met with a woman at the Home Depot Design Center who wouldn’t even design with me when I told her my projected budget. She all but laughed me out of the building. While yes, I did spend more than my initial projection, I still came in under what she said the bare minimum kitchen renovation would cost, and I won’t forget the way she wrote me off. More on costs next week, though!
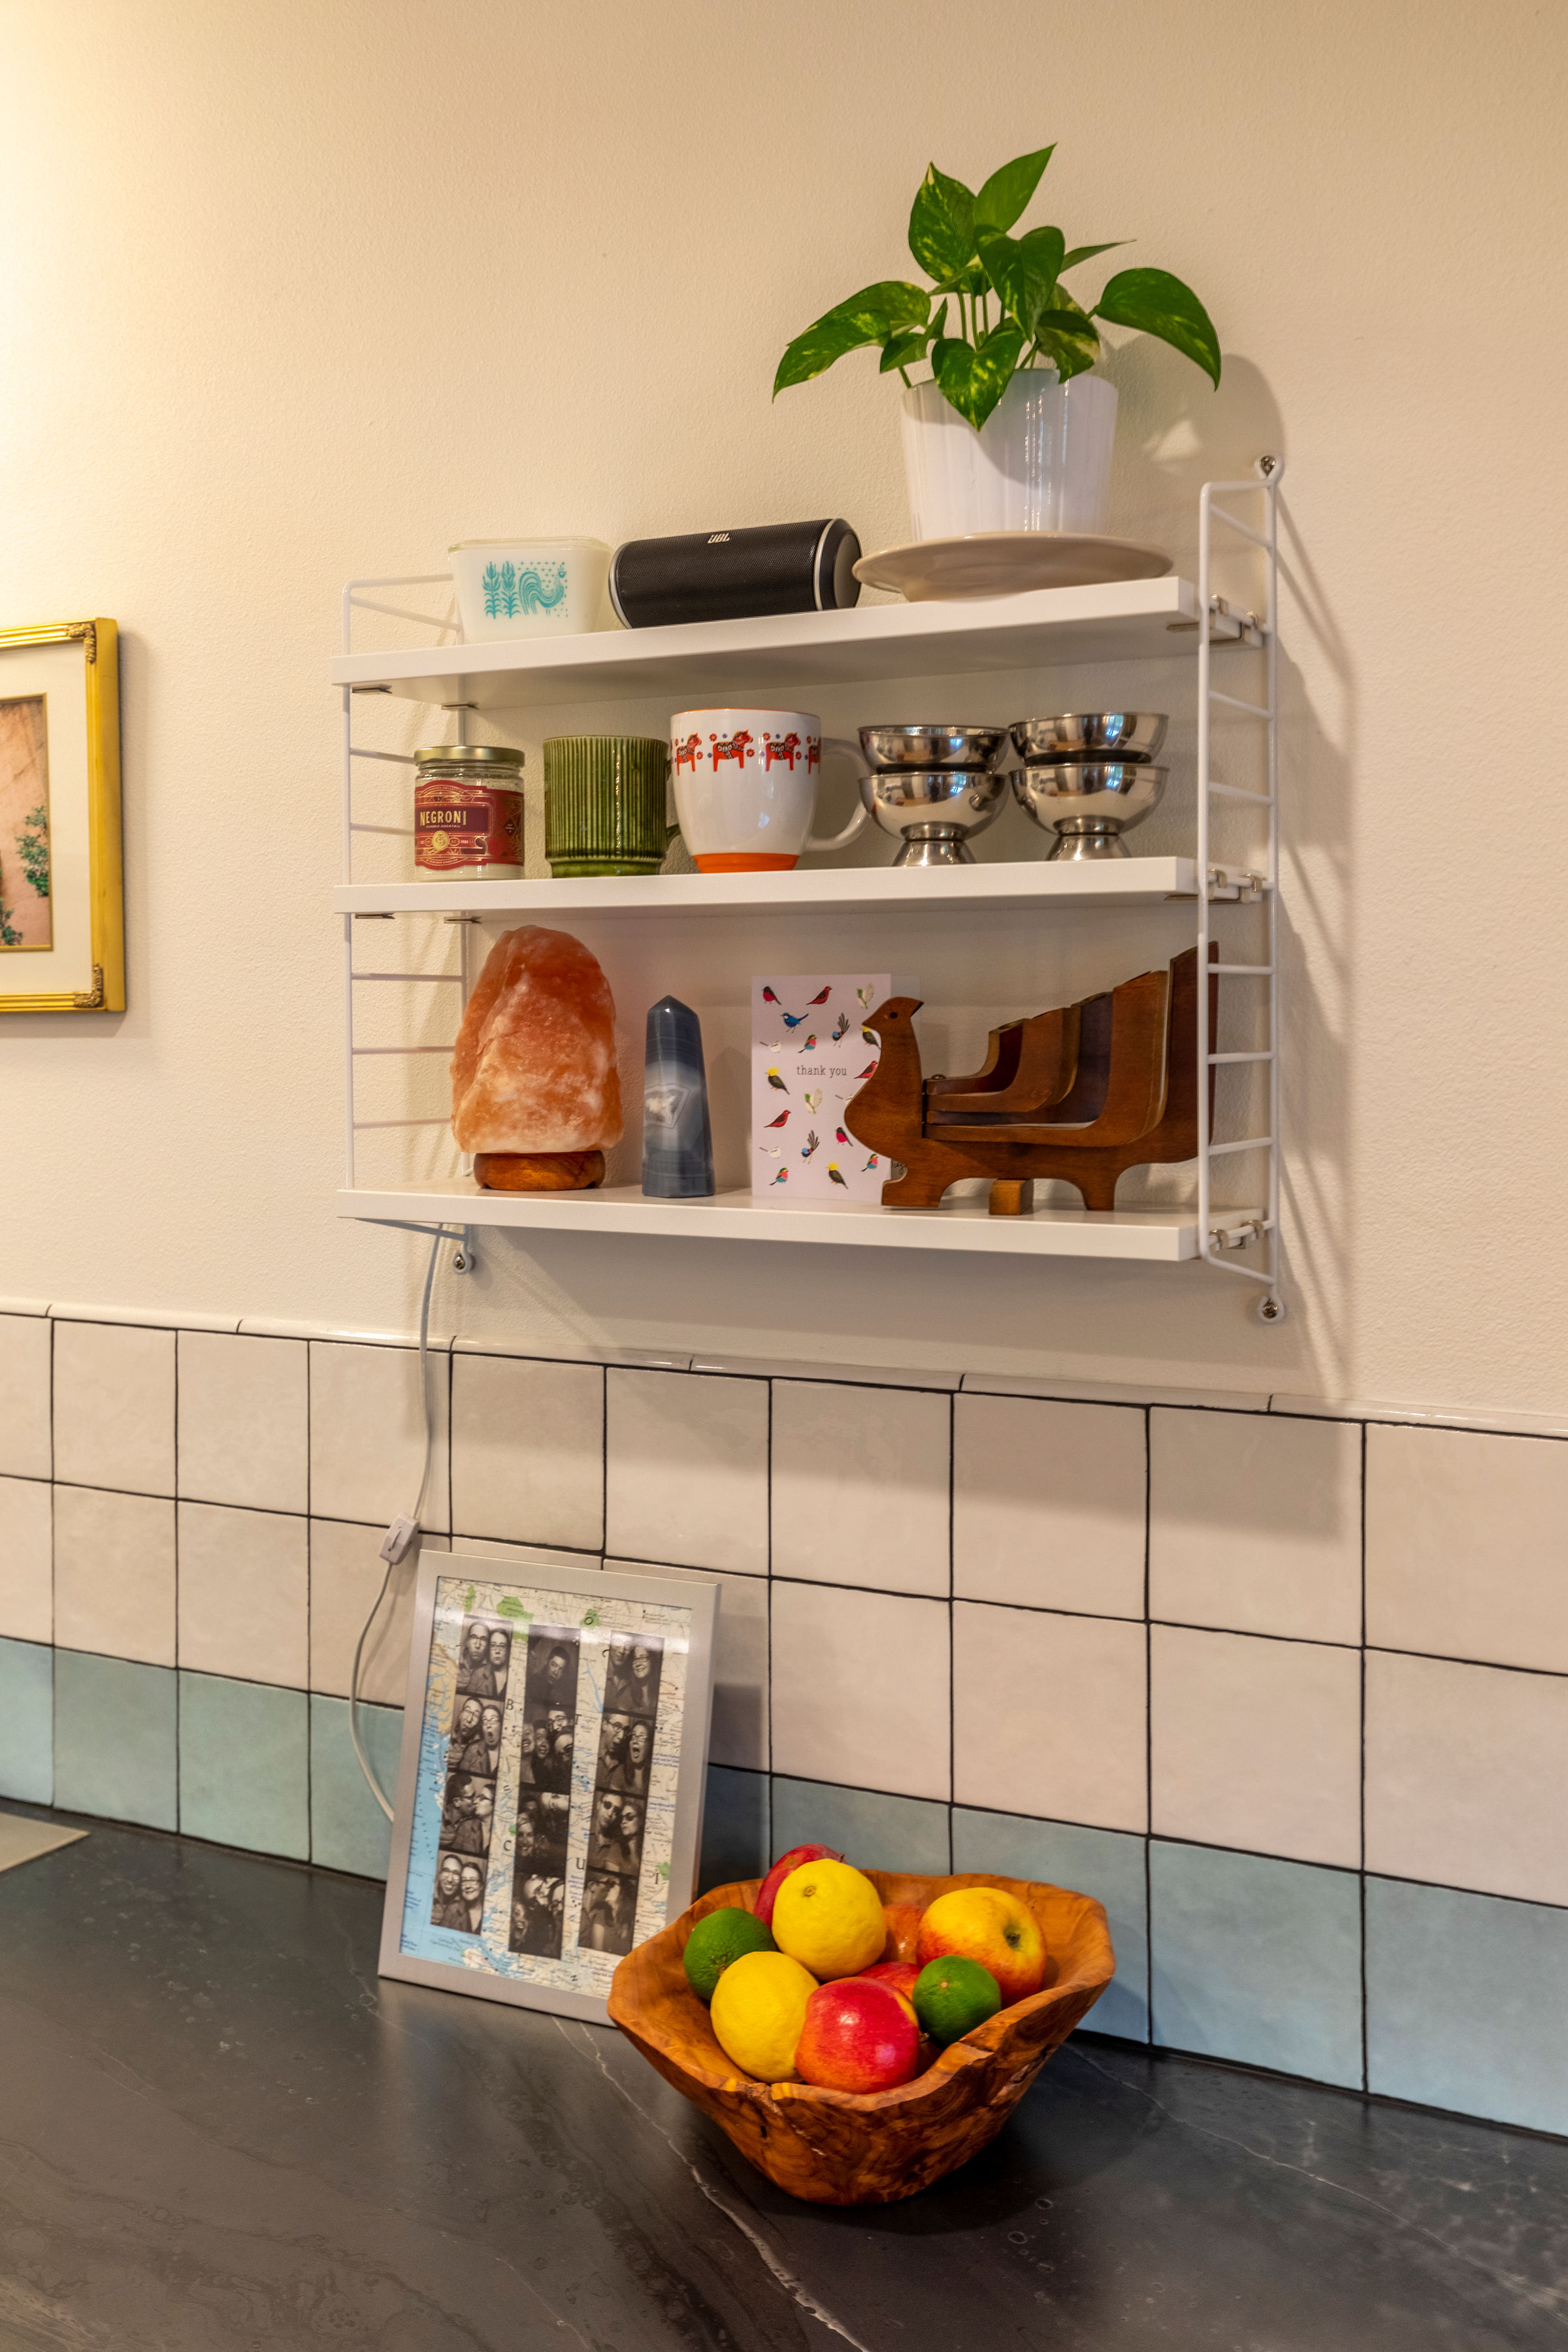
As for materials, most of the items I chose were on the moodboard in one form or another, however bringing home samples and laying them around the kitchen for weeks at a time really helped me hone in what I wanted. The major pivot was that the first moodboard looks a little more deep and earthy, but upon reflection, the dining room window doesn’t provide that much light to the kitchen half of the room. In particular, the green/blue tile from the first mood board were much darker in person than they were online. So, I chose a lighter pallet. As a result, the kitchen turned out brighter and fresher:

Cabinets: I decided to go with shiny white slab cabinets despite some feedback I got on facebook about the potential for scratches. The finish is excellent after 6 months; we shall see how it holds up to renters (spoiler alert, the condo is now rented).
Countertops: Honestly I have never been entranced by stone countertops, having grown up with ceramic tile in my parents’ house and some type of laminate in every rental I’ve ever had. This was an easy way to cut costs and get something that looks great and needs very little care. There is very convincing formica out there these days.
Glam it Up: The tile and the cabinet pulls were my glam moments. I picked a really pretty tile from Bedrosians made in Spain. The black grout was a style gamble that turned out really well, in my personal opinion. The gold cabinet pulls from CB2 are like jewelry on top of the whole look. I ended up not using the little black pulls from the moodboard but I think those would have also been a really cute option.
Reveal Time!


Sources: Cabinets to Go, Formica, CB2 (similar), LG, Kraus, Nucore LVP, Bedrosians
I have a budget breakdown ready to go next week so please come back to check that out! I am not promising a full-fledged return to blogging the way I used to during the blog heyday of 10 years ago, but this has been really fun to write and I’ve had a few questions from friends about the renovation so I hope this was likewise enjoyable for you to read.
Leave your questions and below and I will be happy to answer them!
