Kitchen Renovation: Cost Breakdown

One of my favorite things that home bloggers do is to share their cost breakdowns. For the uninitiated, renovations can be incredibly daunting and overwhelming. HGTV shows are not necessarily helpful since they toss around very large, round numbers… granularity provides the additional context for those considering their own renovations.

I find the transparency really encouraging since it allows the reader to draw their own conclusions about if a certain material or design choice is “worth it.” Let me be clear, please keep your negative opinions to yourself on this one. Feel free to judge, but this money is water under the bridge so any negative opinions are for you to think about and not send to me. Thank you, haha.


Cost Transparency

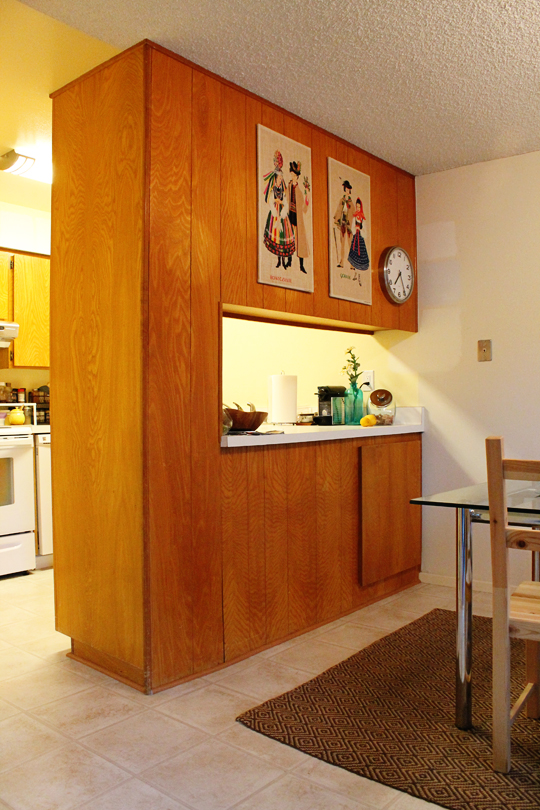
Cabinets: After shopping around to 4 or 5 places with my self-designed layout in hand, I chose Cabinets To Go because their prices were low, they were running a special, and the customer service was attentive and listened well to my wishes and concerns. $5000 for cabinets + $2142 for cabinet install.

Countertops: Wow, it was hard to find a countertop company that would special order the specific Formica I had picked out. Which was a shocker, since the design I wanted was front and center in Formica’s 2020 lookbook. Countertops 4 Less in El Cajon came out to measure, ordered the right material for me, and installed quickly. There was a problem with the first round of countertops being damaged so this was our first delay. $1650 including install.

Lighting: Doug let me have free reign with the design, but his request was to have can lights added in the ceiling and under-cabinet lighting. $2500 for materials and labor. The additional cost on top of lighting was very extensive drywall work which added another $1500.

Paint: Ceiling paint, drywall primer, and 2 gallons of wall paint came to around $250. We painted everything ourselves.

Flooring: I hadn’t originally budgeted for flooring, planning on pushing it to 2021, but after demo it became obvious that we would have to put in new floors right away. I chose a luxury vinyl plank that will hold up for a long time. We installed it ourselves and learned a lot in the process. $470, DIY installed.

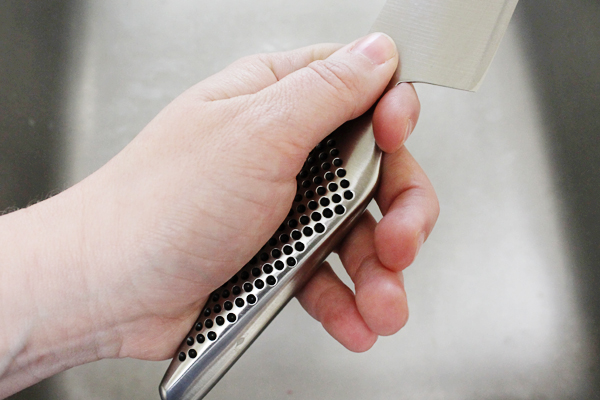
Sink & Plumbing: The new, deep sink and cool faucet are one of my favorite things in the kitchen. For labor, I think I got somewhat taken for a ride by the plumbers who annoyingly insisted upon replacing my angle stops (the shut offs under the kitchen sink). I think what was there was fine, but at that point in the reno I was too tired to get a second opinion. $2300 for new sink, new angle stops, new garbage disposal, and labor.

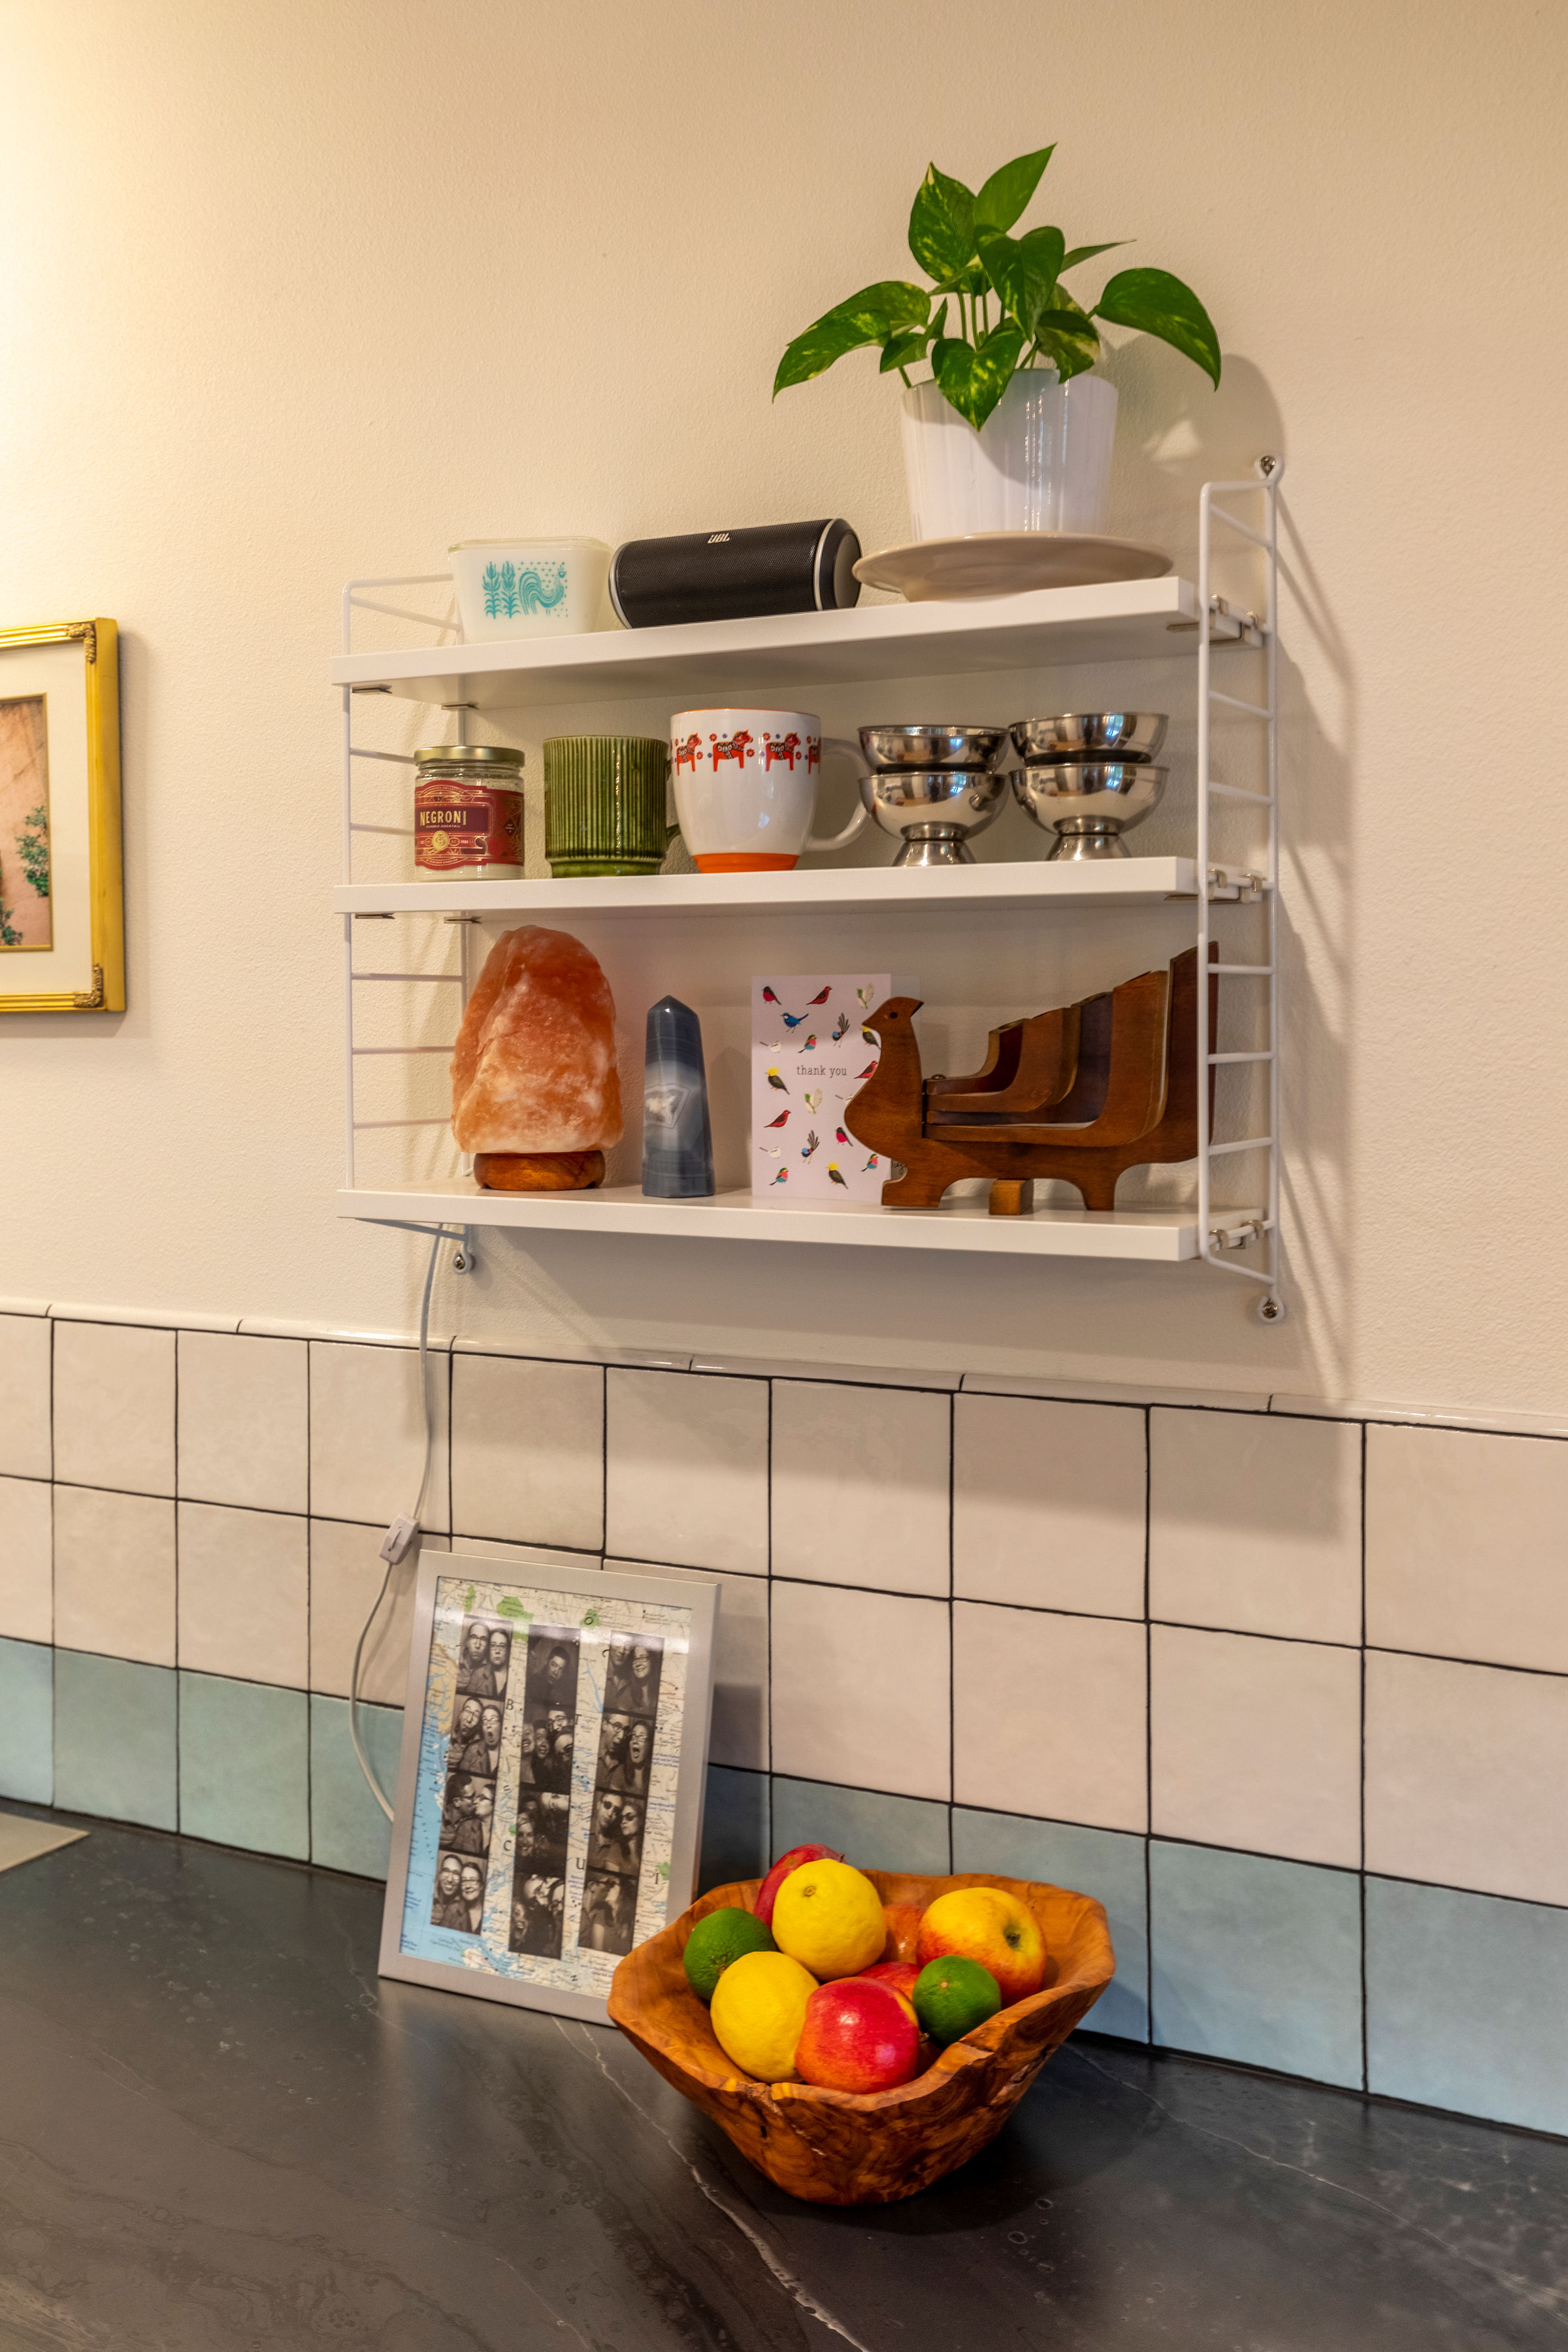
Tile: This was my big splurge to elevate the kitchen’s look. Loving the look of handmade tiles from Zia and Fireclay, I chose something with a similar essence that was much more budget friendly from Bedrosians. Tile was our second major delay, being backordered a little bit (for the square tiles) and several weeks for the border pencil tile. $450 DIY installed.

Appliances: We saved a lot of money by reusing our stove and dishwasher, which were already white and looked great with our new white cabinets. I did select a counter-depth refrigerator to streamline the room and make the floor plan work. It was such a nice upgrade. $1284.

Budget Reflection

I think there are two things that blew the budget. The first was the under-cabinet lighting. The end result turned out fantastic, but to make it happen there was much more labor. The electrician essentially rewired the whole kitchen, which is a huge invisible value add. To add the under-cabinet lights and the cans the scope was much bigger than expected and we had to hire out extensive drywall patching.

The secondary labor cost was the plumbers. They came in at triple what I expected.As I mentioned above, they insisted on replacing my angle stops and they also wouldn’t reuse my garbage disposal (which was only a few years old and in fine working order). After 6 weeks with no kitchen sink I didn’t have a lot of fight left in me to get multiple quotes; I know with more effort I could have saved money in this spot.

Conclusion

All in all, taking a kitchen from 1969 original to 2020 brand new came in at approximately $17,500. This was around $5000 over my ever-shifting budget which in all is not bad for a top-to-bottom kitchen renovation. Almost all remodels come in above budget when the scope grows and splurges arise.

I had the home appraised for a refinance a couple of months after the kitchen was completed and the appraiser was very impressed and the new kitchen improved the value of the home more than $20,000. Not bad for spending $17,500 (plus 3-4 months and some blood sweat and tears). In conclusion, I think it turned out amazing and it was totally worth the whole ordeal!


What kind of Realtor doesn’t add in her own self-promotion at the end? If you are tired of your kitchen, I am available for a conversation to talk through the costs and benefits of a remodel based on my experiences and professional network. For a total change of scenery, I’d love to offer my sellers’ and buyers’ services. I work in San Diego county and southern Riverside County and I also have a deep referral network across the USA. Leave a comment here or contact me through my real estate website: SDHomeDreams.com.

Advertisement

Kitchen Remodel: Completion! (w/ Photos!)

Hard to believe I was starting to put together my kitchen mood board about a year ago, and now here we are. I am not much like the DIY bloggers that I still follow closely… documentation is not the name of my game. Work has been extremely busy, which is awesome especially since the money for the kitchen reno had to come from somewhere.

Wait, how about a couple of before photos??

Vintage Dining Room Art
The Empty Kitchen

Last time, I wrote about my renovation priorities, and now on the other side of the process, I am pleased to say that I upheld most of them. Honestly I think that writing them down helped me prioritize them, even thought I did not refer back to them during the whole renovation, having thought it through at the beginning helped me align my vision and follow it.

When we began the product sourcing journey, I met with a woman at the Home Depot Design Center who wouldn’t even design with me when I told her my projected budget. She all but laughed me out of the building. While yes, I did spend more than my initial projection, I still came in under what she said the bare minimum kitchen renovation would cost, and I won’t forget the way she wrote me off. More on costs next week, though!

As for materials, most of the items I chose were on the moodboard in one form or another, however bringing home samples and laying them around the kitchen for weeks at a time really helped me hone in what I wanted. The major pivot was that the first moodboard looks a little more deep and earthy, but upon reflection, the dining room window doesn’t provide that much light to the kitchen half of the room. In particular, the green/blue tile from the first mood board were much darker in person than they were online. So, I chose a lighter pallet. As a result, the kitchen turned out brighter and fresher:

Cabinets: I decided to go with shiny white slab cabinets despite some feedback I got on facebook about the potential for scratches. The finish is excellent after 6 months; we shall see how it holds up to renters (spoiler alert, the condo is now rented).

Countertops: Honestly I have never been entranced by stone countertops, having grown up with ceramic tile in my parents’ house and some type of laminate in every rental I’ve ever had. This was an easy way to cut costs and get something that looks great and needs very little care. There is very convincing formica out there these days.

Glam it Up: The tile and the cabinet pulls were my glam moments. I picked a really pretty tile from Bedrosians made in Spain. The black grout was a style gamble that turned out really well, in my personal opinion. The gold cabinet pulls from CB2 are like jewelry on top of the whole look. I ended up not using the little black pulls from the moodboard but I think those would have also been a really cute option.

Reveal Time!

Sources: Cabinets to Go, Formica, CB2 (similar), LG, Kraus, Nucore LVP, Bedrosians


I have a budget breakdown ready to go next week so please come back to check that out! I am not promising a full-fledged return to blogging the way I used to during the blog heyday of 10 years ago, but this has been really fun to write and I’ve had a few questions from friends about the renovation so I hope this was likewise enjoyable for you to read.

Leave your questions and below and I will be happy to answer them!

Knife Info 101

When I began at Sur La Table I had no idea what made a knife nice, especially not what made a knife special enough to spend hundreds of dollars on a single piece. Now I know that there are so many different kinds of steel, and they all perform differently. A great knife is one of the most cost-effective ways to upgrade your cooking experience. Prep work will go faster and your cuts will be nicer, easier, more precise.

Shun Sora and Global

When I chatted about the new additions to my kitchen, I mentioned that the Japanese steel is sharper and will hold its edge longer. Simply put, Japanese knives can be sharpened to a much more acute angle than German knives, and will stay that way longer, however one must be more careful with them because the sharpness of the steel translates to hardness, and tendency to chip. German steel is softer, more malleable, which dulls more quickly but sharpens up nicely, and doesn’t chip (unless something really drastic happens). Many cooks have one or two of both kinds.

For this reason, someone who has made a real investment in their knives should get the proper honing steel, as well. A German honing steel, for example, isn’t a hard enough metal to clean up the edge on a Japanese knife. A Japanese steel is harder than a Japanese and German knife, however, and can be used for either of them. There are inexpensive ones out there. How do you know if it’s time to use a honing steel? Carefully draw your finger down from the spine of the knife and past the sharp edge of the blade. If you feel a little catch or hook at the edge, it’s time to hone. Never, ever check the sharpness of a knife by feeling the sharp edge with your finger–they can be sharper than you think!

Holding a Knife

If you don’t know already, here’s an awkward picture of how to hold a knife. Pinch the point where the blade meets the handle. Then wrap the rest of your fingers around the handle to form your grip. This puts the knife in line with your whole arm, and relieves the wrist of unnecessary work. If it feels weird, do your prep work while holding the knife this way for a couple of days, then try the “old” way. My guess is that the old way will now feel more awkward and unwieldy!

As far as choosing your new knife, the best thing to do is find an opportunity to try out several brands, shapes, and styles. My store lets customers test them, and I have seen other kitchen stores that also provide this option. If they don’t have any food for you to chop, at least take the opportunity to wrap your hand around the handle and fake it. The weight and handle should feel good. There’s not really one “best” knife for everyone, that’s why there are so many options out there!

And a quick & dirty review of my choices: I love the two I chose. They are both light yet well balanced.

  • Global is a favorite brand of those in the restaurant industry because they are durable and a cinch to keep clean (since they’re all one piece). Some people don’t like the handle because they’re so unique and seem a bit small, but I really like it, especially for a small knife life my nakiri. This is and will continue to be my go-to prep knife for small jobs.
  • The Shun Sora line just came out. They are not only less expensive than Shun Classic but the bright reflective steel should resist rust/patina more than the damascus pattern of the Classic. It cuts like a dream through everything. We made tacos the other night and cutting lettuce, tomatoes, and even cooked steak (medium and well done) was effortless. I look forward to many happy years together with this knife ;)

What kind of knives do you have? Are you in love with them or are you interested in upgrading?

The Small Print: I wasn’t paid or perked to write my knife posts, in fact I bought these knives with my own cold hard cash after lots of hemming and hawing about what to get. I did use an employee discount. Lots of bloggers get free stuff in order to write reviews; I am not one of them.