I never knew it until living in our rental house in Kansas, but it’s actually really easy to grow plants, if you do so outdoors. Turns out, nature knows what to do to make the magic happen.
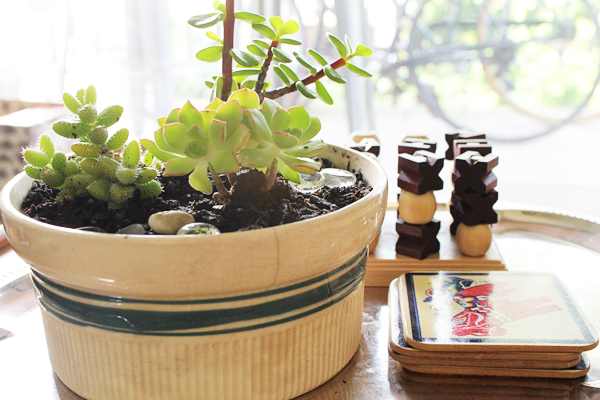
Take this jade plant, for example…

About six months ago, it was literally a stem broken off of our neighbor’s larger jade plant. We stuck it in some water and waited… and waited… until it sprouted a root. Then we put it in this pot I stole from my mom’s backyard, with some soil we stole from a planter bed in the complex common area. The rest is history. It’s literally four times larger than it started.
Then there is the succulent garden I planted right before our mac’s hard drive crashed in… February, I believe? Here’s how it started out:
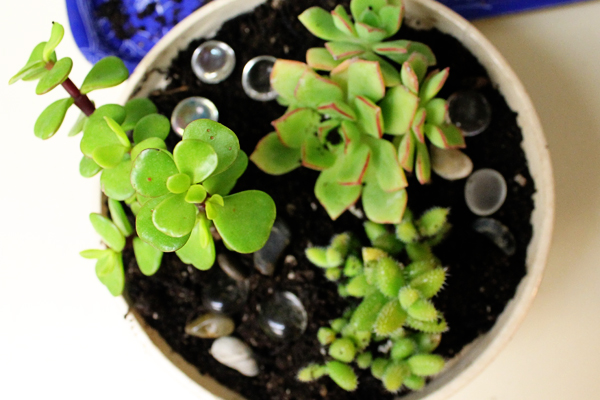
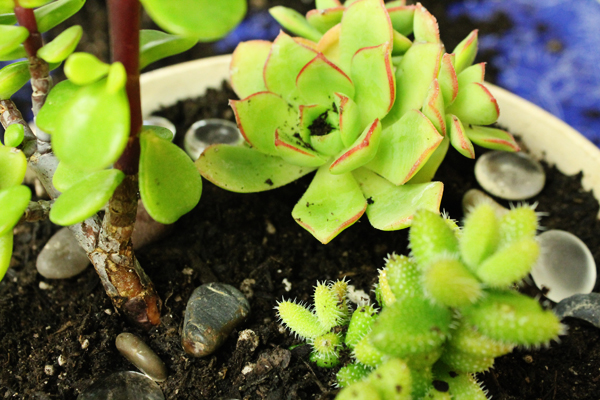
And now, this:

The baby-plant vibrant green is gone (sad face) but the plant is going bananas. I took one of the succulents out since it was getting so crowded. The hen and chick plant now lives in its own vessel, a pretty pitcher I picked up at West Elm on clearance for about $5.
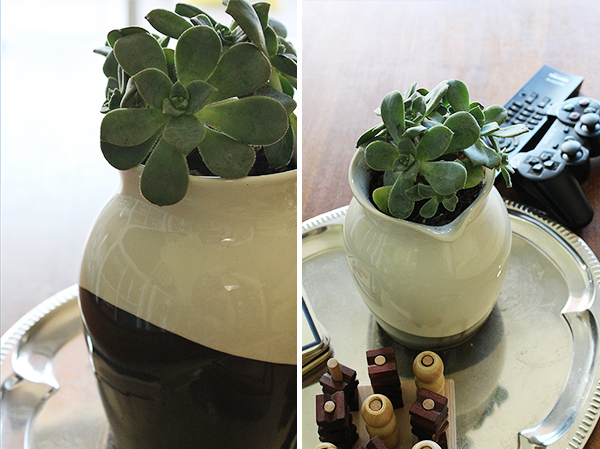
I’m going to see if it survives OK on the coffee table, but the apartment is a bit dark so if it starts looking sickly, the move will be made back to the patio.
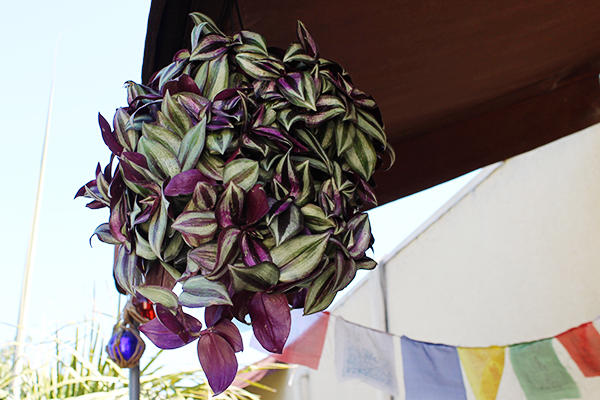
I also bought a couple more plants at Lowe’s a few months when my mom came down for the day. My favorite plant at our Kansas house was a Wandering Jew, but I left it behind since I was skeptical it would make the move OK. Now, I have Jew, Part Two! I love that it came in a hanging basket.
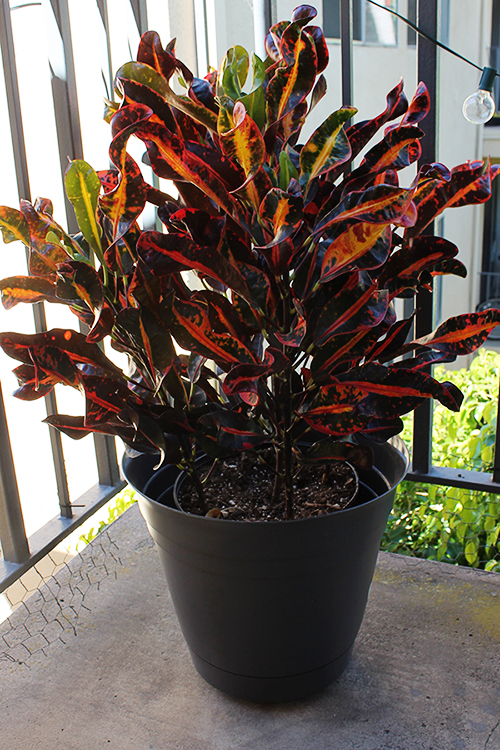
Finally, the most beautiful plant in the world, a Croton. The name itself generates visions of prehistoric rainforests and I love picturing this very plant growing tall and shielding a nest of baby dinosaurs, or something. Crazy imagination? Maybe, but check it out:
My patio is shaping up to be a very fun and plant-ful space indeed. Now if only I’d come across the perfect outdoor chairs to replace our beach chairs (which threaten to fold up when one sits in them)…
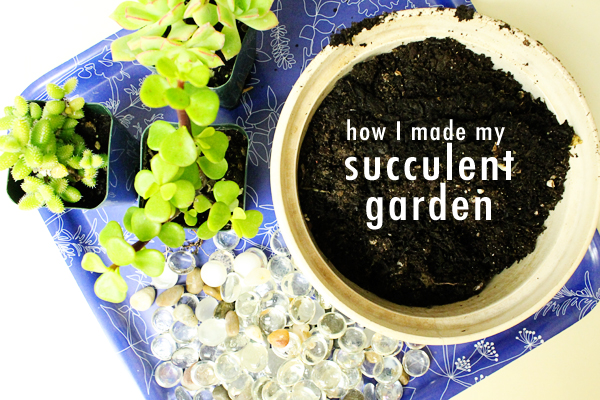 Supplies needed:
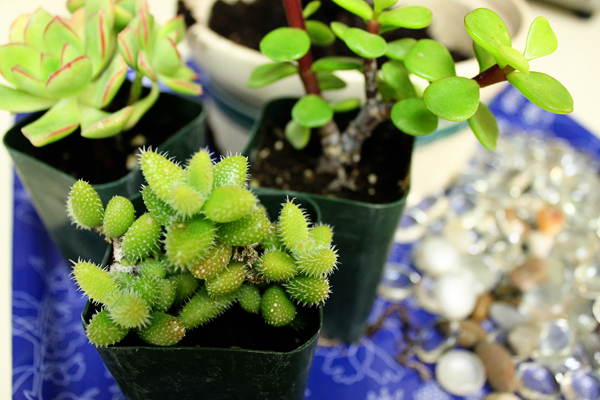


")

