I was shocked that last April Doug and I celebrated 3 years in our condo. Shocked! Where does the time go? We haven’t really tackled any major projects in our home since we painted our bathroom jungle green right after moving in (and then failed to post a final reveal here—fail).
Everything is changing, though.
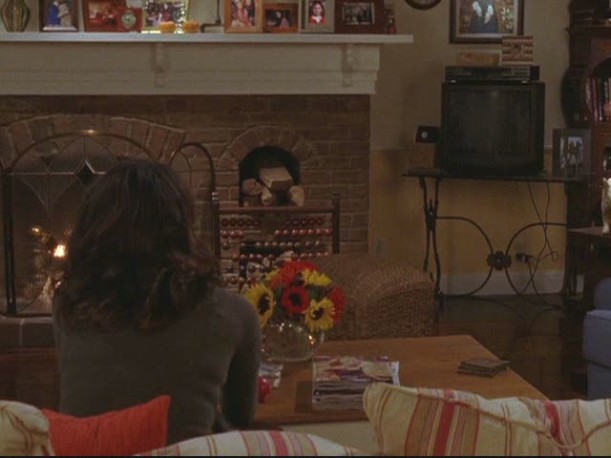
Even though we own our space (every time I say that it sounds misleading—we like most “homeowners” are paying it off to the bank), it has always felt really “apartmenty” to me. I’m sure it’s because of the beige walls and carpet… when we bought the place, we were looking for a fixer upper, but this place was much larger, closer to my work, had new carpet and new drywall, and was the same price as many fixers. As first-time home buyers we decided to play it safe and choose something move-in ready. So, after 3 years of beige, it is finally time to take matters into my own hands. Paint all of the things!!
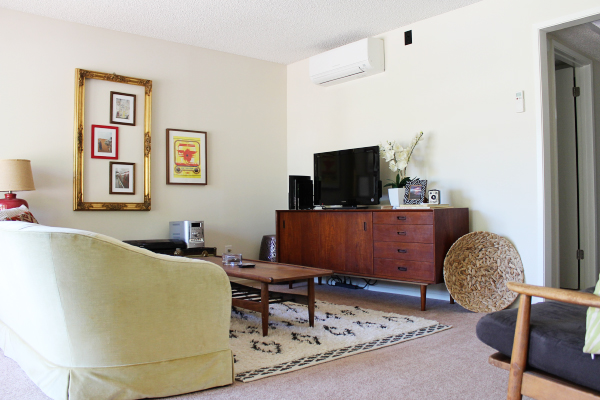

The first step in getting this room “right” was to paint over the builder beige. We used the same color and sheen that we did in our dining room: Benjamin Moore (Aura) in Simply White. Definitely the most expensive paint I’ve ever bought, but the coverage, richness of the white, and eggshell sheen is just perfect. Going from beige to white might seem like a lateral move, and is not that exciting in photos, but trust me when I say that our vintage and collected home furnishings pop so much better now than they did against light tan. Every color stands out and the light in the room is more pleasant. People don’t understand how much light that flat, beige paint soaks up instead of reflecting.
Since I work for a Christian school, I had the Thursday and Friday before Easter off of work! My dad came down with his power tools and he helped me panel an accent wall in the living room. Shiplap is so buzzy right now, but my condo was built in 1965: I was originally thinking to go with straight up wood paneling. After hemming and hawing, I decided to go with a more modern look and do horizontal paneling with 1/8″ spacing.
We followed this tutorial closely and the project went smoothly.

Putting up the paneling was my first time using a nail gun with pneumatic air compressor, and it ruled! The project went by so fast. Nailing each panel up by hand would have been way more tiring, way noisier, and not as precise. If you ever want to do a project like this, definitely borrow, rent, or buy a nailer. The other tool that was necessary for this was a saw. Luckily my dad brought one over for us to use (similar), but now I know what I’m putting on my Christmas wishlist.

I shared the following photo on facebook and instagram, and interestingly the votes leaned heavily one way on FB and heavily the other way on IG. I chalk it up to the fact that device screens have different color profiles and nothing is quite true to life. Even more interestingly, in the month that the swatches were up, I selected neither of the crowd-preferred options. Haha!

In a recent post I shared a little vision board for this room and I’ve posted it again here. I’ve got some thinking to do on the art in here– leave it as is or do a little shake up? We finally finished painting the paneling in June and I am working on another post on that, filled with glamour shots ;)